


 Bestseller
 All Printers
 All Labels
 Money counting machine
 All Accessories
There are many reasons why you might want to print round stickers in Word. Perhaps you want to send thank-you notes for gifts or use some round stickers as labels for your brand. Whatever the reason, it's not only important that the stickers look good, but also that the printing process is precise, so that the stickers have the perfect size and shape every time. With our guide, this will be a piece of cake!
What you need
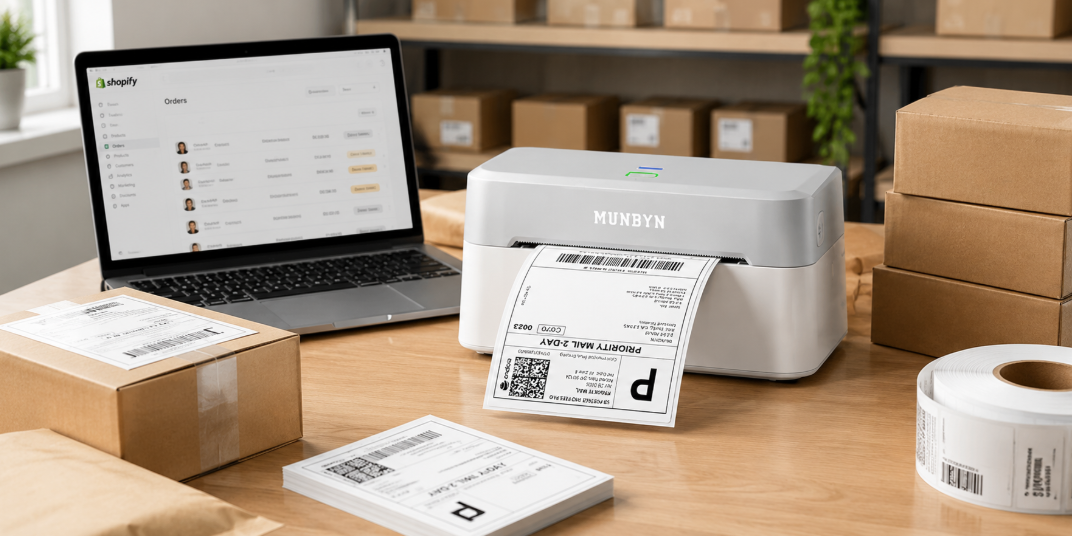
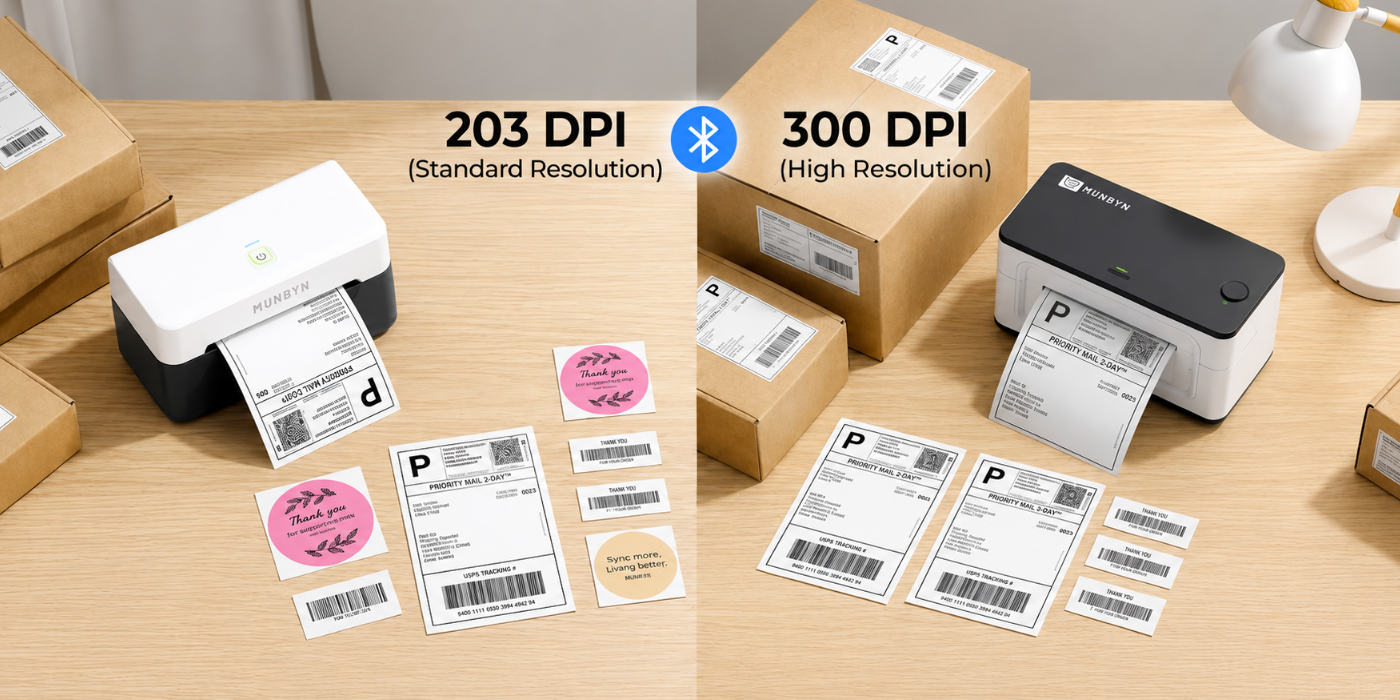
Before you begin, you will need Microsoft Word and a thermal label printer. You can use round stickers of any size and shape, but we recommend labels with a diameter of 2 inches (approx. 5 cm) for best results.

Creating a Round Sticker in Word – A Step-by-Step Guide
Step 1: Selecting the Shape of the Sticker
Open a new Word document and navigate to the "Insert" tab. Click on "Shapes" and select the circle if you want to create a round sticker.

Step 2: Adjusting the Outline and Fill Settings of the Shape
Add the circle to your document in the desired size. Then you can adjust the outline and fill settings to optimize the design of your sticker. I have chosen the dimensions of 2.5 inches by 2.5 inches for this round sticker.

Step 3: Adjusting the Sticker Outline
Ensure the outline of your sticker is clearly visible by making it a little thicker. Click on the "Format" tab, find "Weight" under the "Shape Outline" menu, and select your desired line thickness. We choose 3 pt.

Step 4: Changing the Outline Color
You can also adjust the outline color under "Shape Outline." Choose a color of your choice for the outline. In our example, we change the color from white to black.

If you want to use an image as a fill for your shape, select "Picture" under the "Shape Fill" option. Upload a suitable image from your computer to serve as the background of the shape.

You can also experiment with the "Texture Fill" and "Gradient" options until you find the optimal background for your sticker.

Step 5: Adding Design Elements, if desired
A design often looks better when it consists of multiple layers. For example, you could combine a colored background with a clean, white surface on top, where the text is placed.

To insert this additional layer, proceed as follows: Under the "Insert" tab, select "Shapes" again and add another shape. Then adjust the outline thickness and fill color as described for the first layer. For the fill color of the new layer, I choose white.

Step 6: Add Your Text
Navigate to the "Insert" tab and select "Text Box." Click on "Draw Text Box," which is located at the bottom of the drop-down menu.

Draw your text box over the existing shape. Since your text should not cover the label design, make the text box transparent.
Select the text box, click on the "Shape Fill" tab, and choose "No Fill," as well as "No Outline" for the outline.

Once the text box is transparent, enter your text. Adjust the font, size, and alignment as desired and experiment with the colors. For this sticker, I am using the font "JUICE ITC" in size 28 and in black, as it is to be printed with a thermal transfer printer.

Step 7: Group Your Label
The final step is to group your label. This allows you to move the entire label as a single unit on the page, instead of having to move individual elements.
To use the grouping function, hold down the CTRL key and click on each element of your label so that everything is selected.
Then right-click on the selected elements and choose "Group" from the context menu. Your label is now a single unit and can be moved, copied, or pasted.

If everything looks good, you can print it with your thermal label printer!
There you have it! A quick and easy way to create and print round stickers in Word. We hope this article has helped you and that this will be your preferred method the next time you need a round label or sticker.

Share:
12 Simple Methods: How to Remove Label and Sticker Residue from Any Surface